To debadge or to keep the logo? Everyone has a preference on if the emblems should be there and if so, what they should look like. At TESBROS, we put together an emblem kit that includes most of everything you need to remove and install the logos. Each kit comes with either chrome or matte black replacements depending on what you choose. Follow along with the step by step video guide above to get the best results.
Kit Includes
- Small heat gun
- Eraser wheel
- Set of handles with line
- Front/Rear Chrome OR Matte emblems
- 3D printed install guides for the front and rear
- Vinyl install guide for rear badge
What Else You Need
- Microfiber
- 70% isopropyl alcohol
- Drill
- Frog/Masking tape
Removal Overview
- Heat the logo to loosen the adhesive. Don’t overheat. It’s plastic, and it will melt or distort if you keep it in one place too long, so keep your gun moving constantly about 6 inches above it.
- Use the line tool to work under it side to side. You can also use fishing line. Take it one piece or letter at a time.
- Use the 3M eraser to slowly work over the area. Use it on its side (not the face) and use a low RPM. You can use goo gone instead, but it tends to leave a residue.
- Clean area with alcohol solution and repeat eraser if needed.
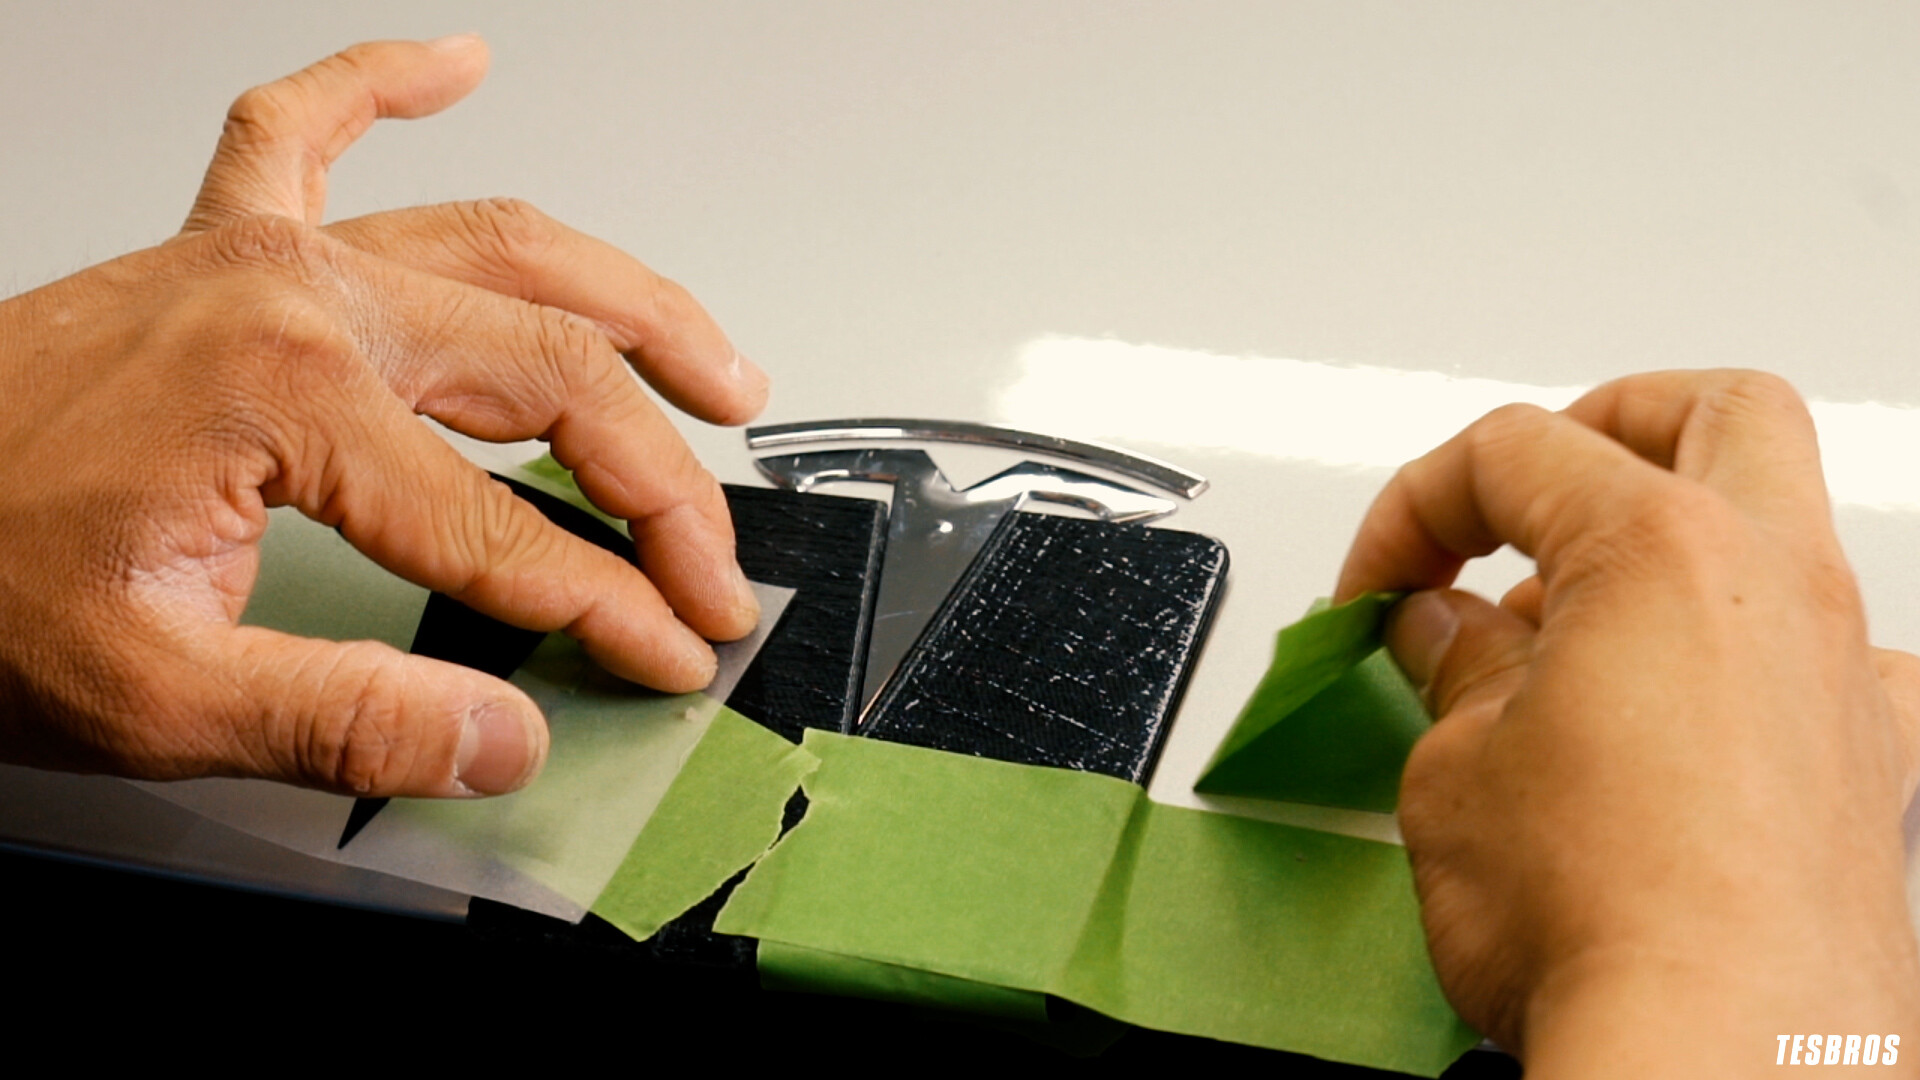
Install Overview
- Clean area with alcohol solution.
- Align the 3D printed bracket with the latch and tape in place if needed.
- Peel backing off and stick your new emblem in place and press down.
- Carefully remove the bracket.
- Don’t wash your car for 24 hours.
If you want to reuse your emblems, check out this video below that shows how to clean off the adhesive and apply more.


