This is a straightforward topic, yet is still highly debated: Clay barring. If you’re like me, I found an overwhelming amount of info on this topic, so I hope to simplify this a little bit!
What is clay barring?
Simply put, we’re using the clay to grab any sort of debris off the car that you can’t get off with just a normal wash. The clay is moldable, so when you press it against the paint, you’re getting a wide area of direct contact to the paint. When you run the clay back and forth, whenever it hits a piece of debris, there’s a lot of surface tension pulling on the debris causing it to break free. If you run your fingers across the paint and notice some bumps or rough patches, it might be time to clay bar. When you do clay bar, you’ll be able to hear the swishes of the clay picking up debris until it is silent! Pretty neat.
When should you use it?
This isn’t something you need to do every time you wash your car. (Unless you just want to, and that’s totally up to you!) Clay barring is in the prepping category, which means it’s preparing you to do something else, such as waxing or polishing it.
Which clay lube should you use?
The point of having a lubricant is to create a liquid barrier between the clay bar and the clear coat of the car, allowing you to glide over the surface easily. If you just tried to rub it back and forth without a lubricant, you’d find there’s a lot of friction and you can’t really move the clay. So, no matter what you use, as long as you’re creating that liquid barrier, you’re good to go!
In the video, we use car shampoo and water for our lube, and later in the video we dilute a degreaser which works just as well. Using a degreaser will help strip down layers of wax and grease, which is ideal if you’re looking to install vinyl or PPF after.
What type of clay should you use?
There’s a lot of kinds out there from super soft, to a harder, more abrasive clay. The harder the clay is, the more scratches you’re looking at, so your best bet is to stick to a good medium-grade clay.
How to Clay Bar
Start with a freshly washed car. You can watch our two-bucket method wash video to see how to do this. Save your wash bucket you used with the car shampoo in it. You’ll use that as your lube. Also, grab your clay bar. Make sure to keep your hose handy to keep rinsing off the area after claying it.
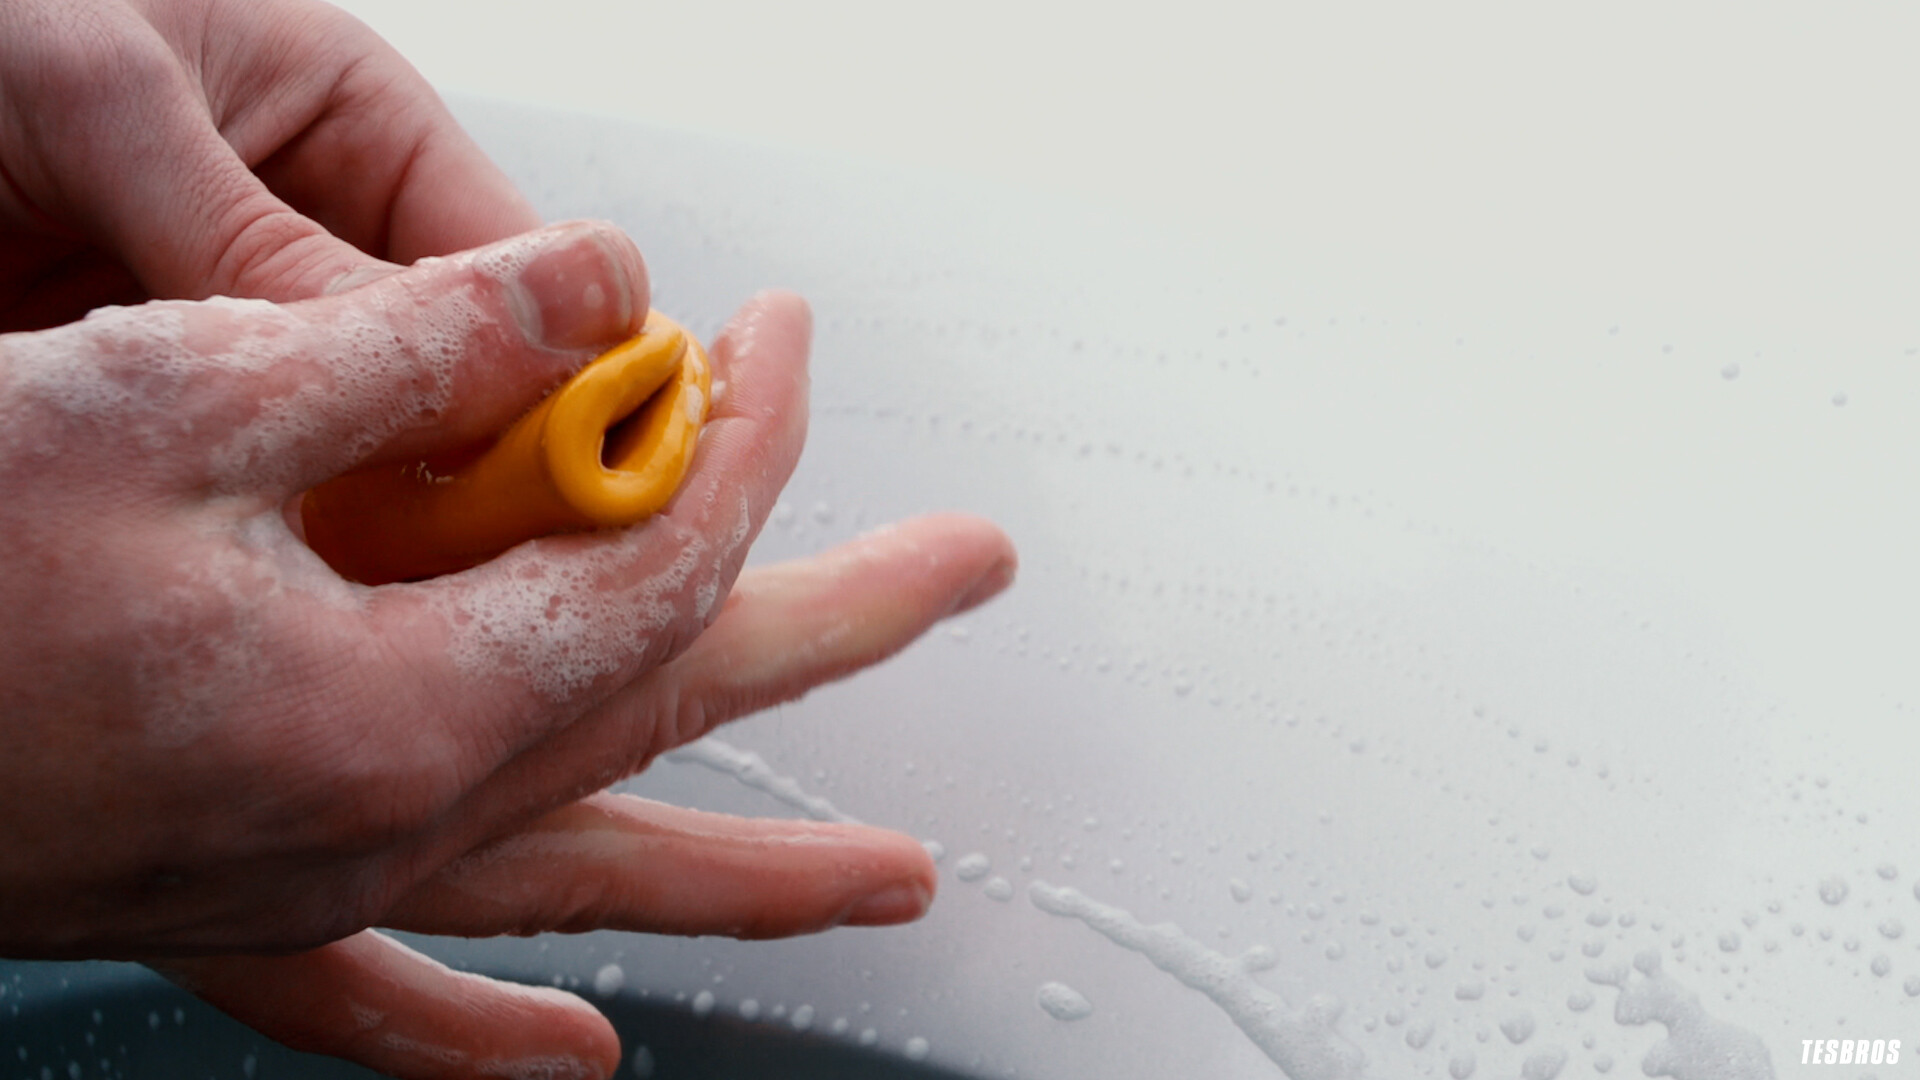
Start at the top and work your way down. Soak an area with your wash mitt and then dunk the clay bar in your bucket to get it primed. You want to make back and forth or left to right strokes as you go. No circle motions! As you do a section, you’ll feel the clay grab and then start to get smoother and smoother. That’s the clay working to pick off all the little tiny bits. Once you don’t feel the roughness anymore, rinse the area off, and then check your clay bar to make sure you didn’t pick up anything that will cause scratches. Knead the clay a few times to give yourself a fresh working area, and then move on to your next section. Keep this process going of soaking, clay barring, and rinsing, and always keep the area you’re working on wet. Continue on and finish the whole car.


