We’ve spent a couple years now designing and creating a front PPF kit, specifically made for the average Tesla owner to be able to install themselves at a fraction of the cost. Our kit includes PPF for a Tesla Model 3 hood, fenders, front bumper, mirrors, headlights, and fog lights. And we don’t just give you the materials. We have a step-by-step installation course from prep to install to maintenance modules.
What’s the difference?
Installing PPF in bulk essentially means that installers take an entire sheet of PPF (Paint Protection Film) and install it in sections on a car. Installers use different tacking, squeegeeing, and stretching methods. Taking a part the car is typical too such as removing headlights and handles – the autopilot on Teslas. Then, arguably the hardest part comes last: cutting it out on the panels (and sometimes wrapping over edges).
On the other hand, pre-cut kits are usually referred to as PPF templates, and you can buy these from various places online. Simply put, they are cut to where the installer doesn’t need to cut anything out at the end. What we’ve found though, is that those kits don’t equip the average DIYer with the right tools and instructions to wrap their car correctly. It’s more geared towards professional installers.
That’s where we come in with a pre-cut kit that goes the extra mile by minimizing (even eliminating) stretch points and harder to install areas. Our 3 goals in designing this project was for it to be completely beginner friendly, high quality, and affordable, and we’re thrilled to say it’s finally here. And don’t worry! We’ll be working on the other models soon, with Model Y being next.
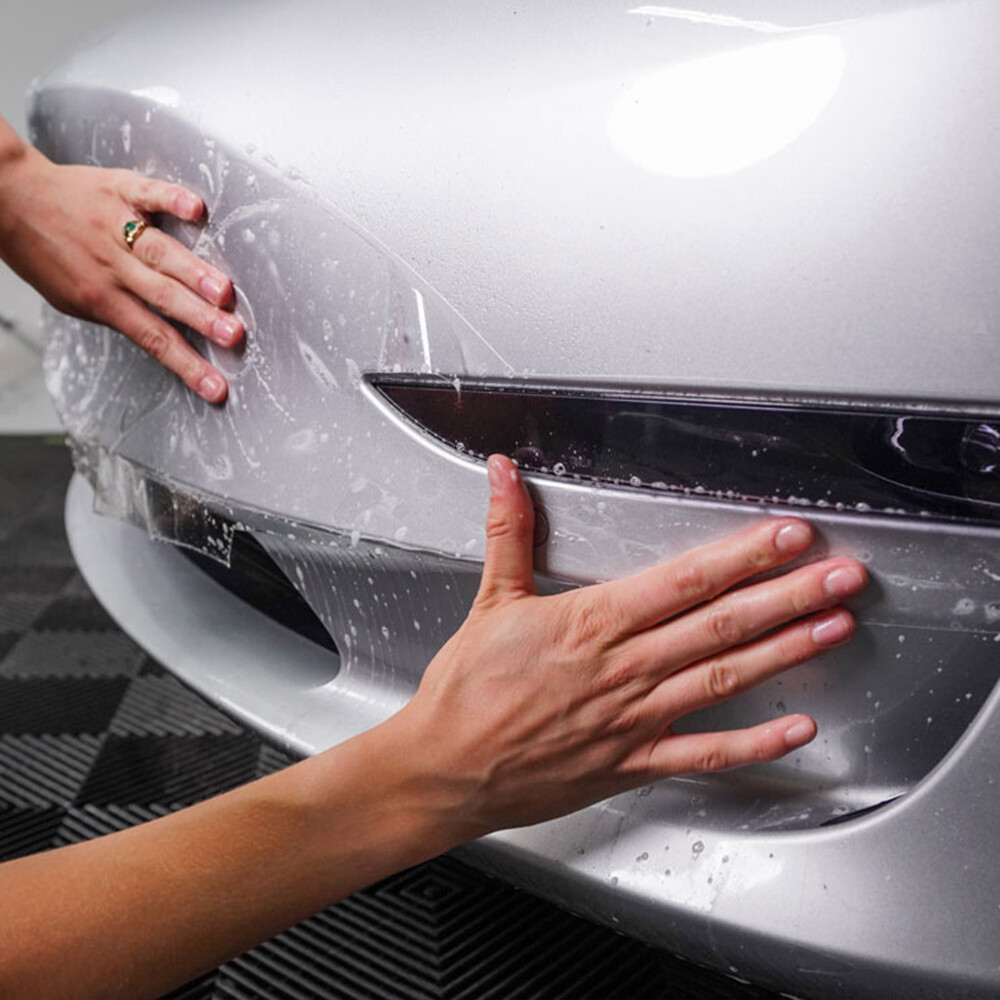
Here we explain how to install PPF on a Tesla Model 3 fender using the professional bulking method and by installing our own DIY front kit.
This video explains how we bulk PPF a Model 3 mirror.


