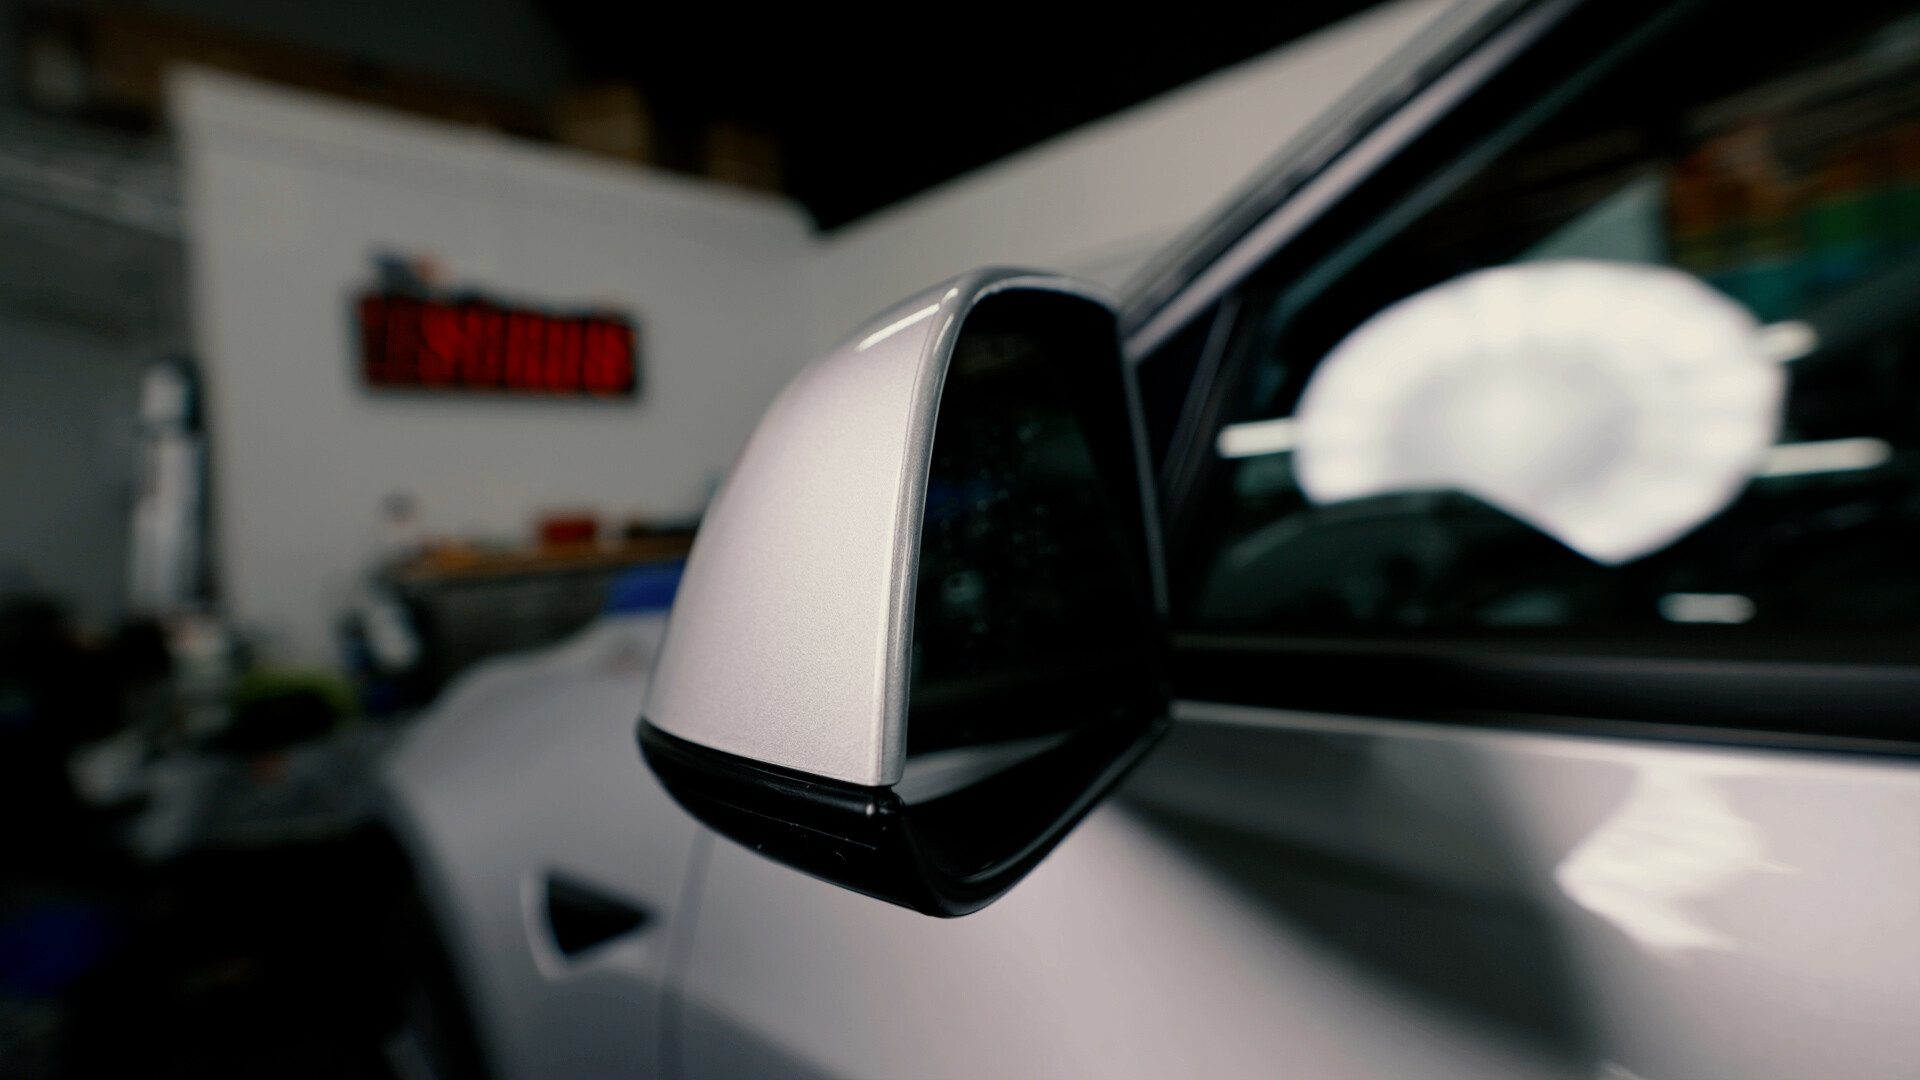
As you might know, we specialize in creating DIY color wrap and PPF kits for your Tesla, but we’re also a wrap shop. So, whether you’re just curious or an installer too, this video is for you. This area in particular is one of the trickiest ones to get right away, so I just wanted to share what I’ve learned after many cars have come and gone through our shop. Here is my process:
Prep
For all PPF installs, prep work is probably the single most important thing. You want to make sure you’re working on a clean surface or else you’ll be fighting dirt and dust throughout the entire install. For a full prep, you want to wash your car, de-iron, wash with a degreaser and then clay bar. The clay bar smooths the surface and gets it ready for your film. Once it’s smooth and ready, you want to paint correct it using a DA polisher. The polishing part is optional, but we like having a paint corrected surface before installing PPF. This will ensure the surface is clear of scratches and swirls. Before you start, it’s recommended you use a panel wipe or alcohol/water mix to wipe it one more time. Lastly, spray your slip solution on the install area and squeegee the surface down, making absolutely sure there aren’t any particles on the mirror.


Install
Spray your mirror with slip solution. When making your slip, use WARM water. This will greatly affect how pliable your PPF is. Then, spray your fingers and the PPF piece you’ll be using. As you peel, spray your slip solution on the inner part of the piece. Then place the film on the mirror and stretch outwards focusing on tacking the bottom corner on the outer side and the middle of the inner side. You should see some fingers appear in the middle, but you should be able to squeegee it out. Once you feel that it is tacked on those two sides, firmly squeegee down the middle to split the area in half. Squeegee down the bottom and up the top quickly to get rid of the soap. Use tack solution (water or alcohol/water mix) to spray all the edges and squeegee them down to ensure that it is tacked. You want to avoid a lot of soap resting on the edges as it’ll make it more difficult to adhere. Once all edges are fully tacked, wipe it clean and inspect your work. Wait roughly 30 minutes until you start cutting. This waiting period is to make sure it’s fully dry, adhered, and tacked into place. If you come back to it to cut and see some bubbles have formed on the edges, tack and squeegee them back down and wait another 30 minutes.
Cut
It’s hard to describe the techniques of cutting with words, so I’ll let the video do it’s job. The main thing is to be very gentle with your blade, and always use a fresh blade. The blade is extremely sharp so you want that to do the work, not your hand. Use your fingers to guide it and cut just inside the mirror. Leave NO room for PPF to overhang. Once you’ve cut your mirror, make sure to spray tack solution and squeegee the edges one last time.


