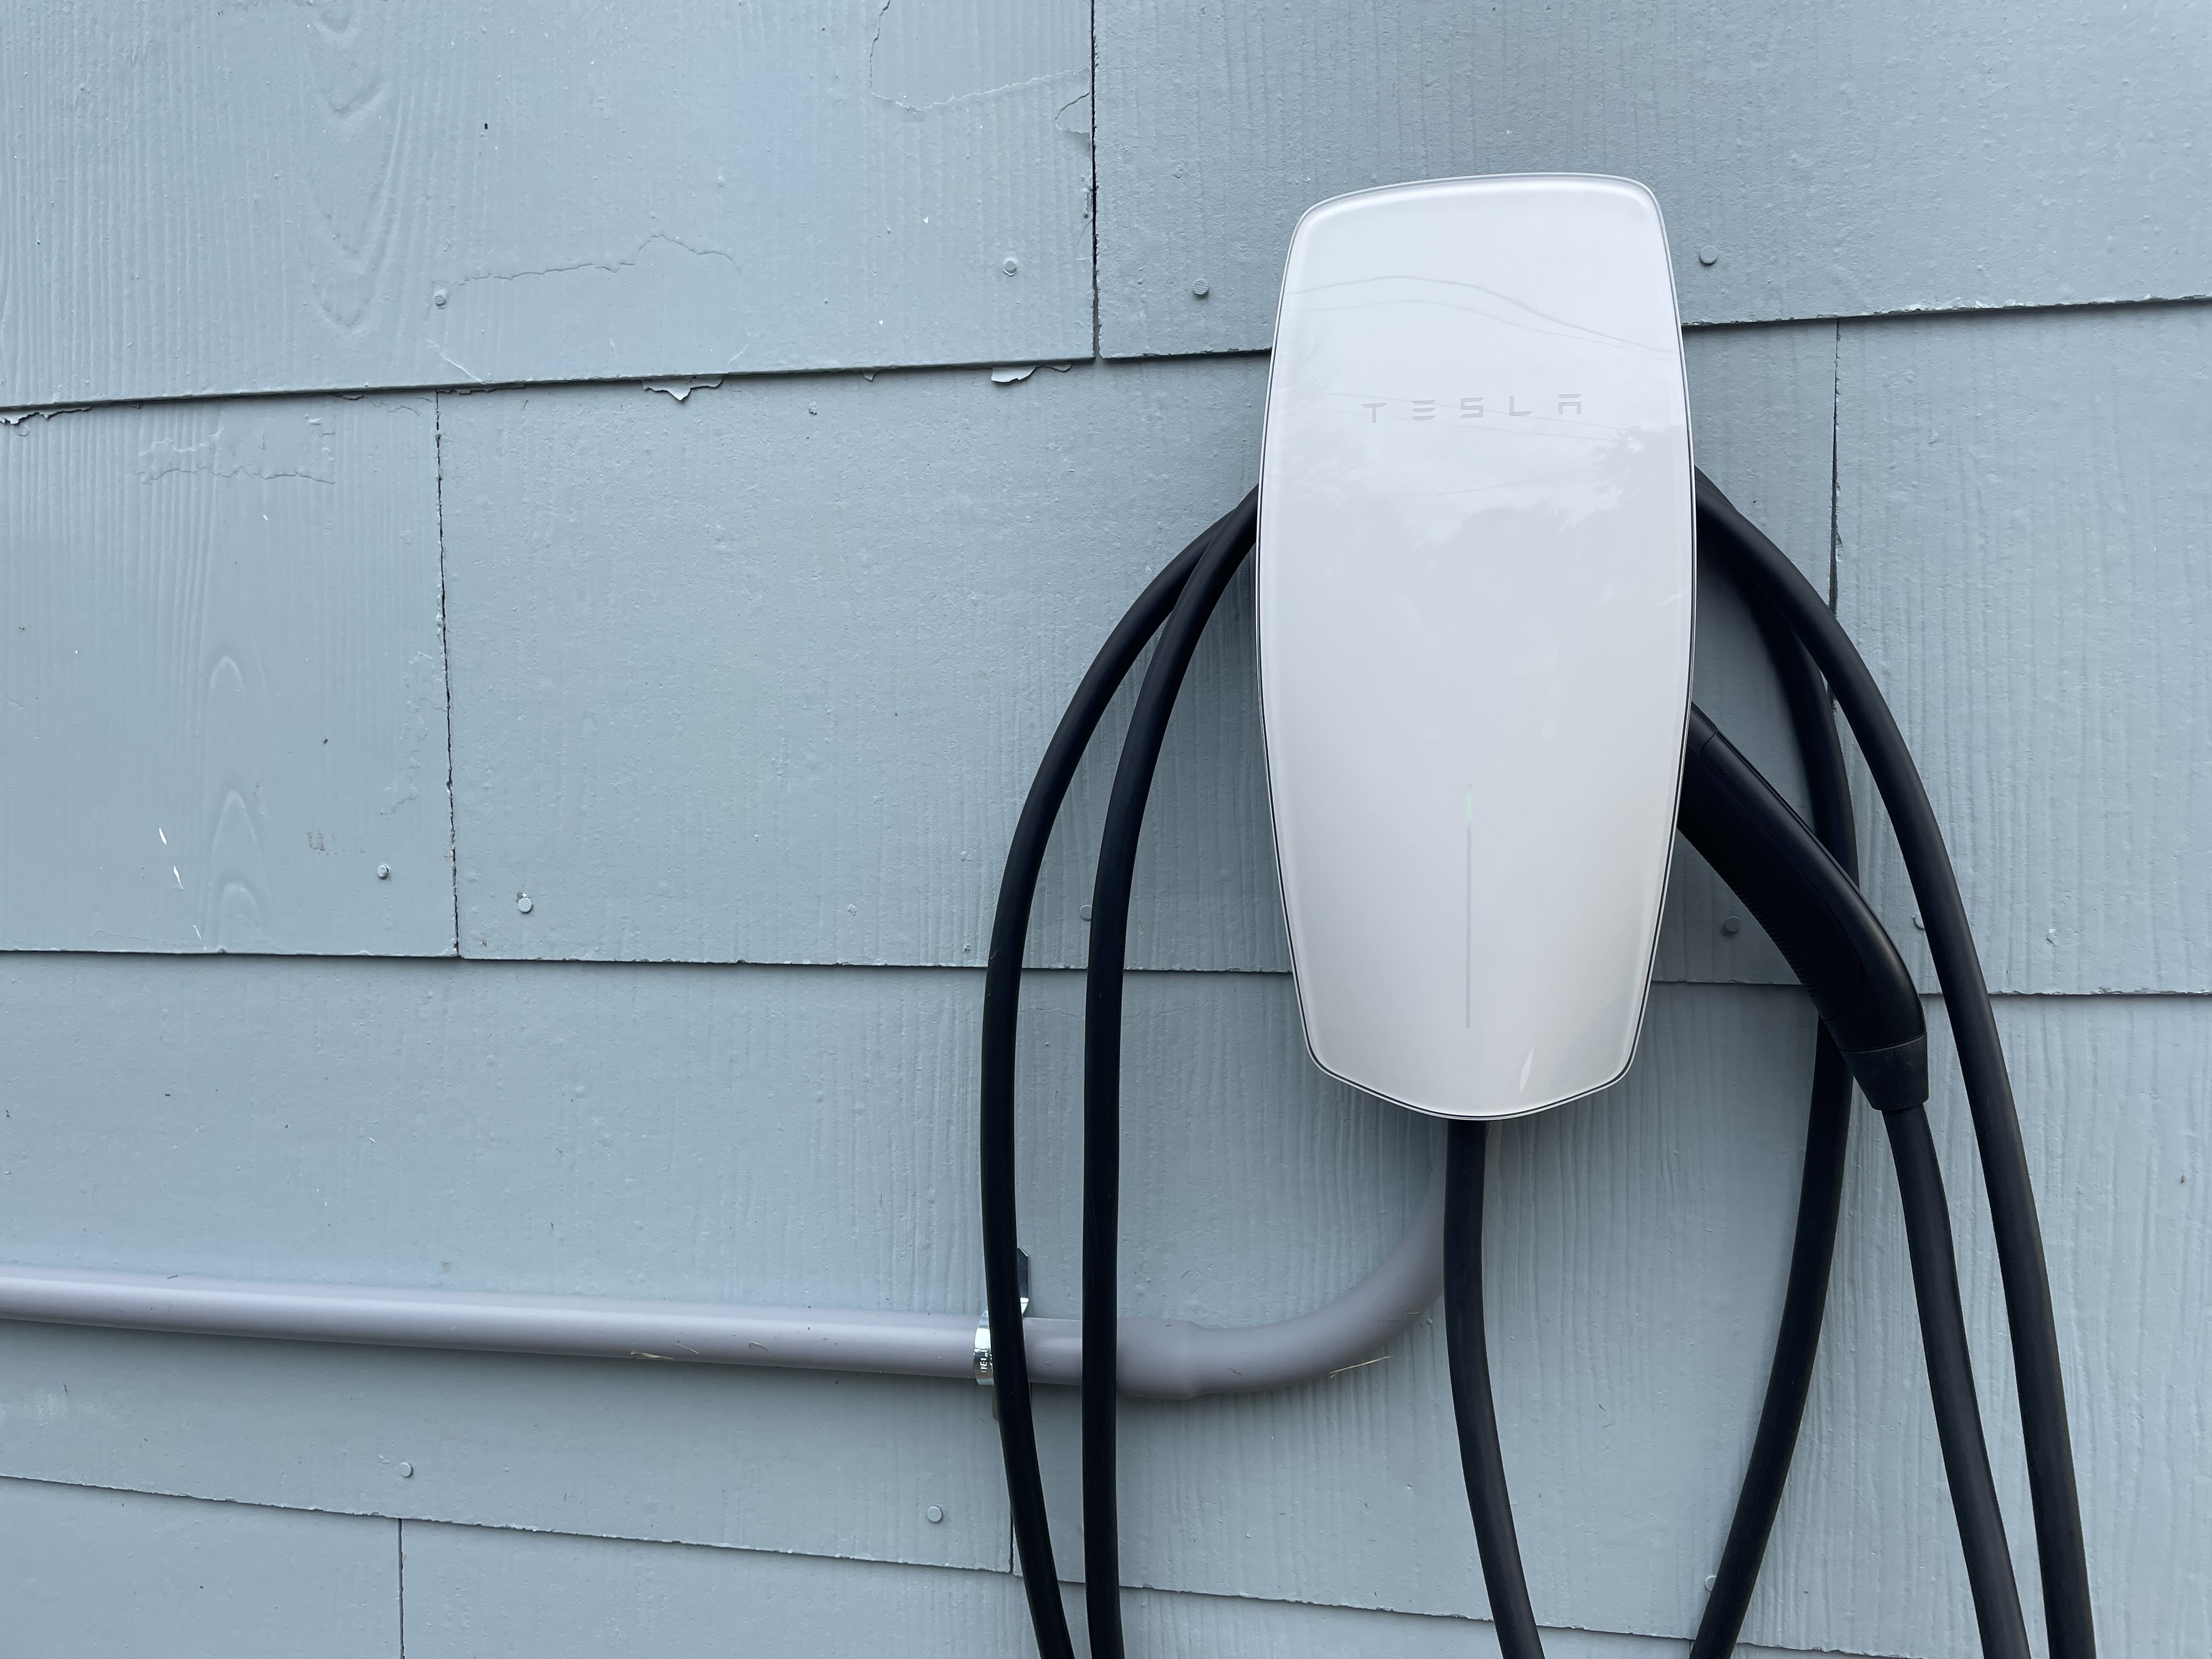
You might be familiar with our Gen 2 install video, but now we have a new and improved video, starring the newer Gen 3 Home Charger. This guide is to better prepare you and familiarize yourself with the process, not to give you step-by-step instructions, as I’m not an electrician. I hired an electrician in the Chattanooga area, Michael Bankston (of Michael Bankston Electric), and these are my observations of his work. The video above documents the entire process in even more detail.
Prep
I made sure to familiarize myself with the Tesla High Powered Wall Connector and manual before Michael came out. You can find the manual here. One thing to note is to find out how much amps you need for your Tesla. For my Models 3 & Y, I need a 60 amp breaker to get a maximum output of 48 amps. The only time you need to install it at a higher amperage is if you have more than one Tesla charger and you are planning on linking the chargers together.
The other thing is to make sure your house can handle it. My house is on 200 amps, so as long as I didn’t have everything on at the same time, it was going to be fine. You should also make sure you have enough space in your breaker box.
Speaking of your breaker box, notice where it’s located and make a plan to run the cord from there to the place you want to install your charger. Remember, the harder it is to run wire to your charger, the more expensive your electrician bill will be. That’s where most of the expense comes from.
Make sure you have all of these things in your box:

What else you need:

Install (from an outside breaker box)
- Keep in mind you’ll need 2 breaker slots to attach the 60 amp breaker. So, start by unscrewing your panel and setting it aside.
- There are holes in the bottom of the panel. Punch one of them out to run the wire through later. We attach pipe from there to about 25 feet down the siding of the house to where we will mount the charger. We got PVC 3/4 inch pipe and brackets that are bigger than the pipe to make room for contracting and expanding.
- Once you get to the end, cut the pipe cleanly and attach an elbow pipe and a bracket on top to connect to the charger from the bottom.
- Once the back of the charger is drilled into the wall, we start running wire through. We use 1 green for ground and 2 reds for live wires, but you can choose whatever colors you want. Simply, attach the wires to a wire feeder with electrical tape and pull through. The wires we use already have a slippery coating on them, making them really easy to run.
- Attach a 60 amp breaker to the breaker slots. Make sure they are off.
- Attach the ground first. Measure, cut, and strip the wire, then putting it in the slot and tighten down with a screwdriver. Make sure nothing is loose.
- Then do the same for the live wires, except these will go inside the breaker amps you just attached. Again, make sure nothing is on with you do this, and nothing is loose when you tighten. Cable management is key.
- To attach it to the Tesla charger part, you’ll need a 5/32 drill bit to unscrew the 3 holes where the wires will go into.
- Strip the wires.
- Run the wires into the labeled holes, and tighten the screws.
- Now, it’s time to turn on the breakers and check the electricity output. After checking that (your electrician will know what numbers you need), turn the breakers back OFF.
- Attach the charger to the bracket with the clips and tighten in 4 screws – 2 on top and 2 on bottom.
- After making sure everything is working, put the panel back together and label it appropriately.
Connecting to wifi
- After your breaker is on and the charger lights up green, use your phone to connect to the charger’s wifi. You can scan the QR sticker code on the Quickstart Guide or type it in manually (http://192.168.92.1).
- Follow the onscreen steps to assign the charger to its own circuit breaker and connect it to your wifi.
NOTE: The Wi-Fi network will only broadcast for 5 minutes. If you run out of time, simply hold the button on the charging handle for 5 seconds or turn the circuit breaker off, then on again.


