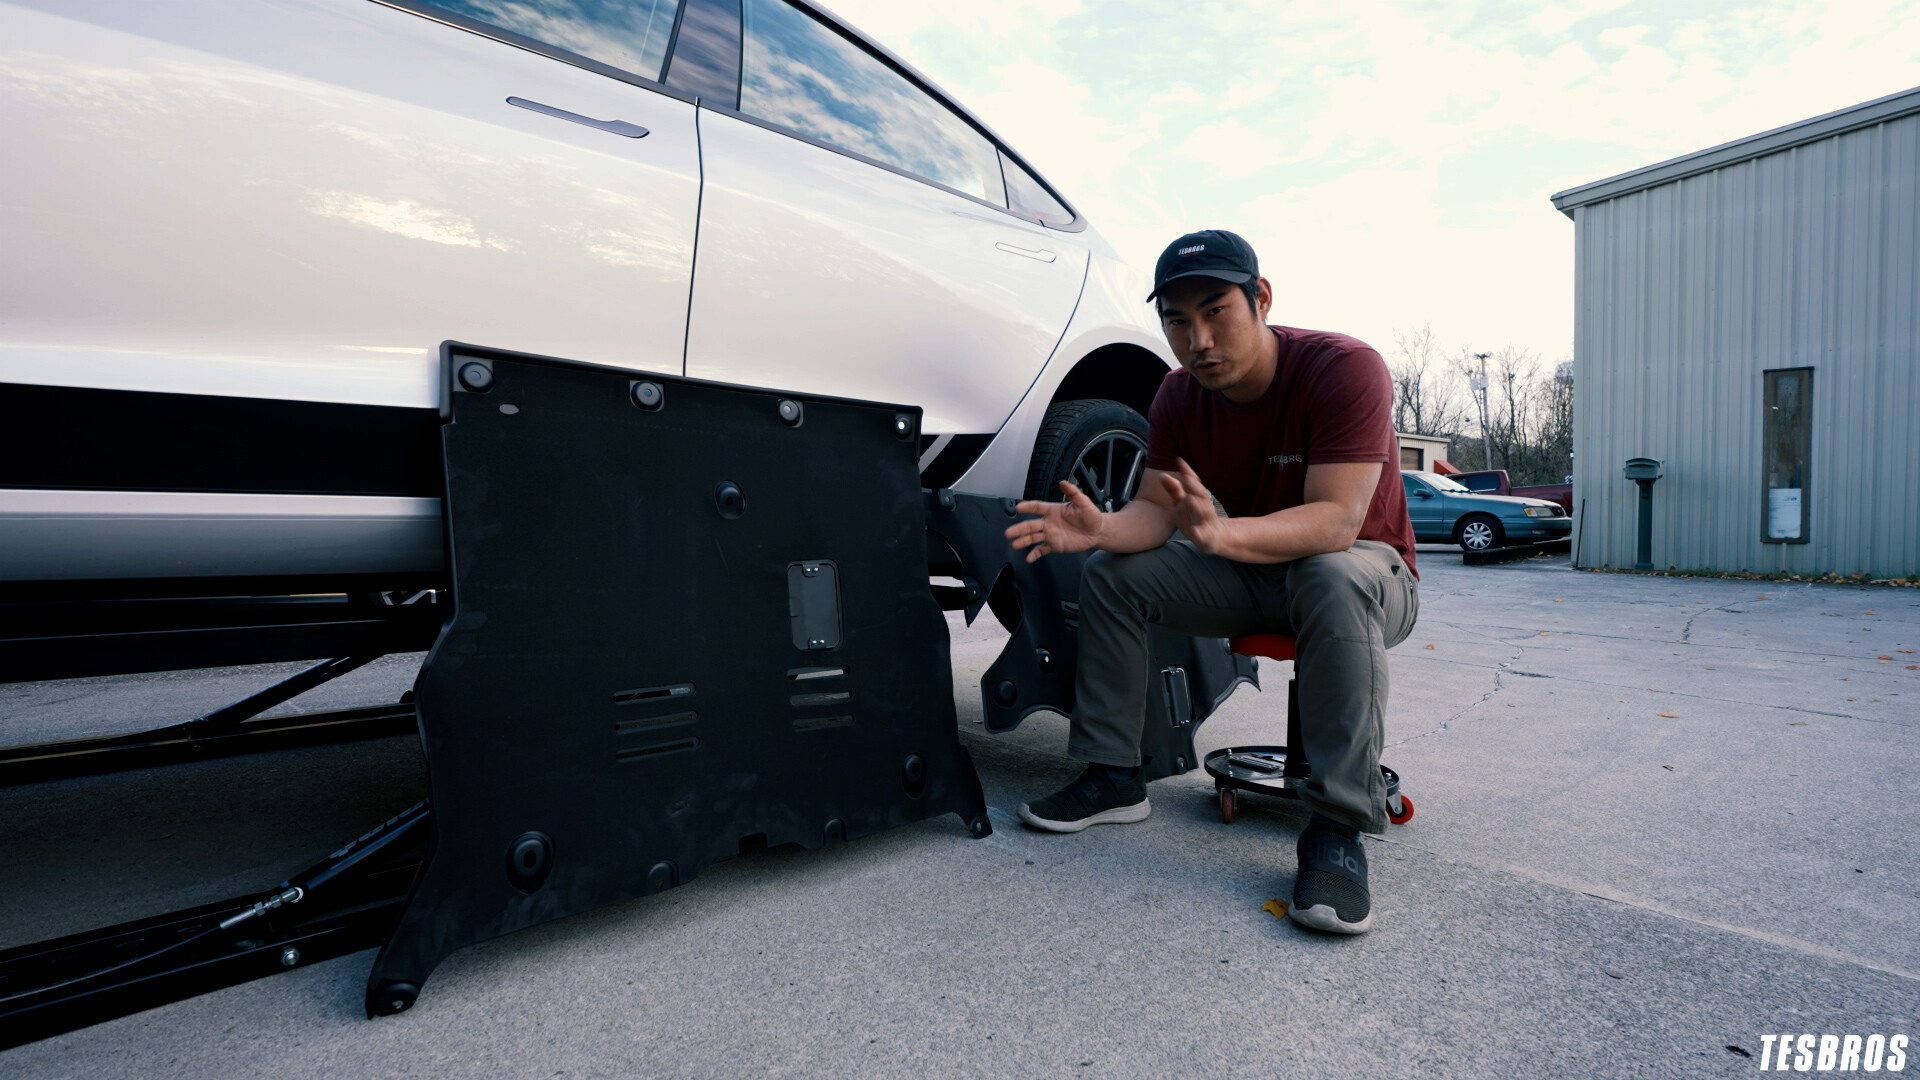
Tesla’s OEM skid plates are made out of fiberboard – which is basically a cardboard composite material. It’s easily susceptible to water damage, swelling and warping if in direct contact with the elements, and rips or tears due to hitting low curbs or driving over rough areas. There’s one in the front and one in the back covering the drive units.
After replacing my OEM skid plates about once a year due to irreparable damage, I wanted to figure out how to make this a permanent fix.
Aluminum skid plates were the answer. These have sound dampening material on the inside to decrease road noise, while fully protecting your drive train. It’s a win-win. I never have to worry about hitting a puddle or bottoming out causing severe damage to my undercarriage because of these.
WHAT YOU NEED
- Aluminum Skid Plate Set
- Jack or lift: I use QuickJack
- Jack Pads
- 10mm ratchet
- 15mm ratchet
- Light (optional) – I recommend a head light to keep your hands free!
- T40 Hex bit
HOW TO REMOVE OEM PLATES
- Jack up your car. I have a QuickJack lift, but you can use any kind of jack. Make sure to put jack pads in the jack points to keep the jack from slipping and damaging the battery pack or side skirt.
- For the rear plate, use a 10mm ratchet to take out about 12 bolts. The plate will simply come off.
- For the front, also use a 10mm ratchet to take out the bolts as well, but you’ll need a 15mm ratchet for 2 of them. They are near the battery pack.
HOW TO INSTALL NEW PLATES
- Lift it into place and start hand tightening the original screws until it holds.
- Then, ratchet them all into place.
- The two 15mm bolts in the front plate can NOT be replaced with the way the aluminum one is built. Instead use the 2 hex screws and washers the kit comes with. You’ll need a T40 hex bit for these.


