The Hansshow Power Frunk V5 has been updated a bit with things like new brackets and power box. They like to keep improving things, and if you bought the version 5 at the end of 2022 or in 2023, this is for you. Check out the video above for a thorough walkthrough of the install process.
What You Need
- Power frunk kit
- Trim tools
- Sharpie – preferably not black
- Pry/pick tool for struts
- Hex key 5 mm
- 8, 10, 13 mm sockets
- 13 mm wrench
- Ratchet
- Neiko mini ratchet (for tight spaces)
- Pliers
- Pole or another person to hold frunk open when working on struts
- Frog tape (optional)
Overview of Process
- Remove frunk
- Remove OEM struts
- Install new Hansshow brackets
- Install new Hansshow struts
- Install latch part – don’t forget tow hook emergency cable
- Attach power to 12v or 16v battery
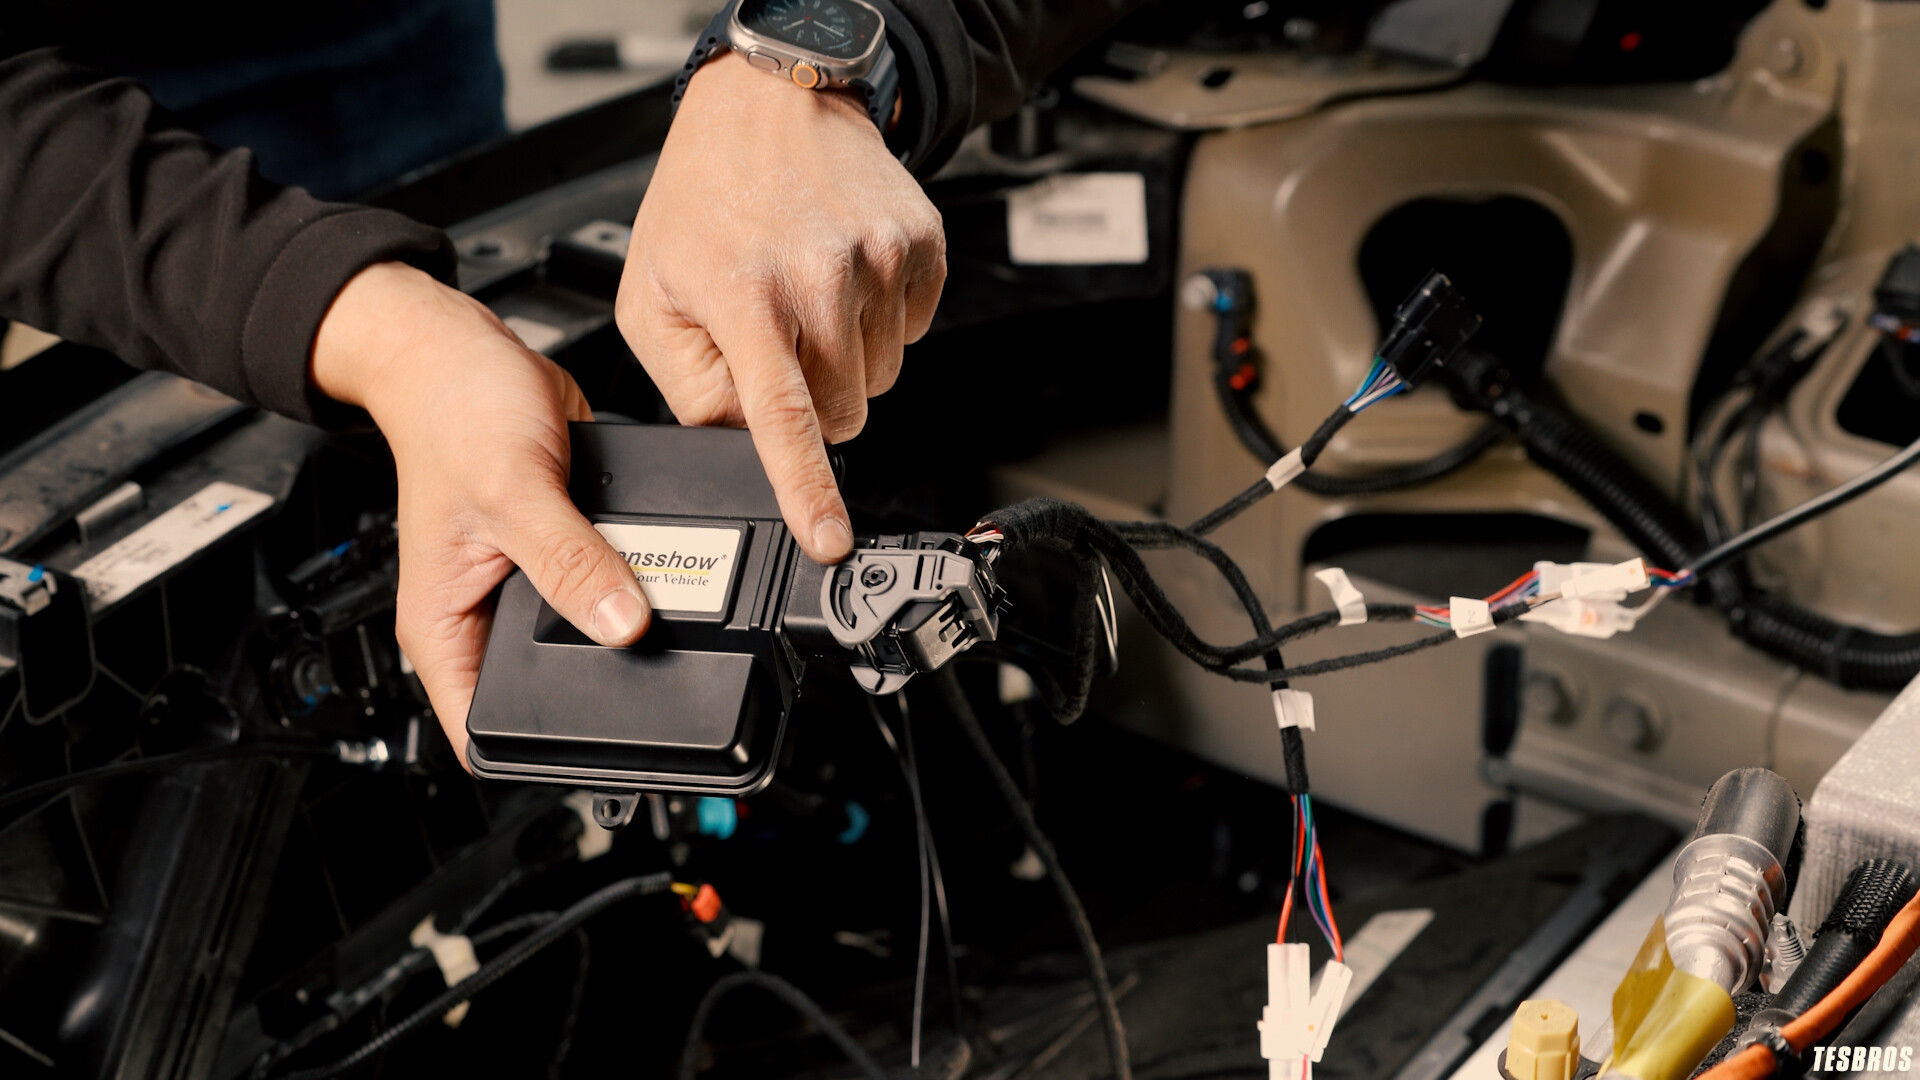
- Wiring
- Test frunk closure and adjust latch placement to align correctly. Frunk closure speed set up.
- Organize wires with zip ties, making sure they aren’t in the way of the frunk
- Put frunk back in
Download the Tesla Model Y Power Frunk Installation Manual here. In the video and the manual, you’ll see how to attach the 12v lead acid battery, but if you have a the Model Y with a 16v lithium battery, this is how the connection should look:


