One of the most common questions I get from new Tesla owners is, “Do I need to buy a home charger?” If you ask me, the answer is yes and no. Yes, if you don’t have a dryer outlet (NEMA 14-50: Click to find out what this is) and drive over 40 miles a day. No, if you drive less than 40 miles a day. That’s the simple answer, but let me get into it some more. If you don’t have a charger at home, you have two options. One is to use the 110V outlet in your house which charges about 5 miles per hour. Two is to use your dryer outlet or install one and use the mobile charger that comes with your car which charges about 30 miles per hour. If you are comfortable moving your mobile charger kit in and out of the car on a daily basis, you should be fine with the dryer outlet option. I intended to go that route until I found the Tesla charger at a discount store. So, if you are planning on buying one, read on.
Box Content

Preparation
Before I got the electrician out, I made sure to familiarize myself with the Tesla High Powered Wall Connector. You can find the manual here. One thing to note is to find out how much amps you need for your Tesla vehicle. For my Model 3, I needed 60 amps to get a maximum output of 48 amps. The only time you need to install it at a higher amperage is if you have more than one Tesla and you are planning on linking the chargers together.
The other thing is to make sure your house can handle it. My house is on 200 amps, so as long as I didn’t have everything on at the same time, it was going to be fine. You should also make sure you have enough space in your breaker box.
Installation
What you need:
- Tesla Wall Connector
- 60 AMP Breaker
- Electrical wire 3 conductors (2 lines, 1 ground)
- Clamp connector to hold the wire in place
- Turn off your breaker box.
- Unscrew the charging unit’s front cover and set the operating current. For my Model 3, I set it at number 9 so I can get 60 amps.
- Figure out whether you want to do a rear, bottom, or top entry.
- Once decided, drill a hole on the drywall where you’d like to install the charger. Keep in mind that the further away from the breaker box, the more expensive the job will be. I did mine fairly close to the breaker box.
- Run the wire to the breaker box. You may possibly have to drill a hole through the stud to get to the box.
- Mount the bracket that you will be using. I used the low profile bracket.
- Screw the charging unit in place to the bracket and bring the two wires (L1 and L2) in from the rear.
- Loosen up the screws so the lines can go into place. There are slots for two lines and one ground.
- Loosen up the 60-amp breaker’s screws and put the two lines in. Install the breaker into the breaker box.
- Organize the wires with zip ties.
- Screw the front cover back and put the plate back into place.
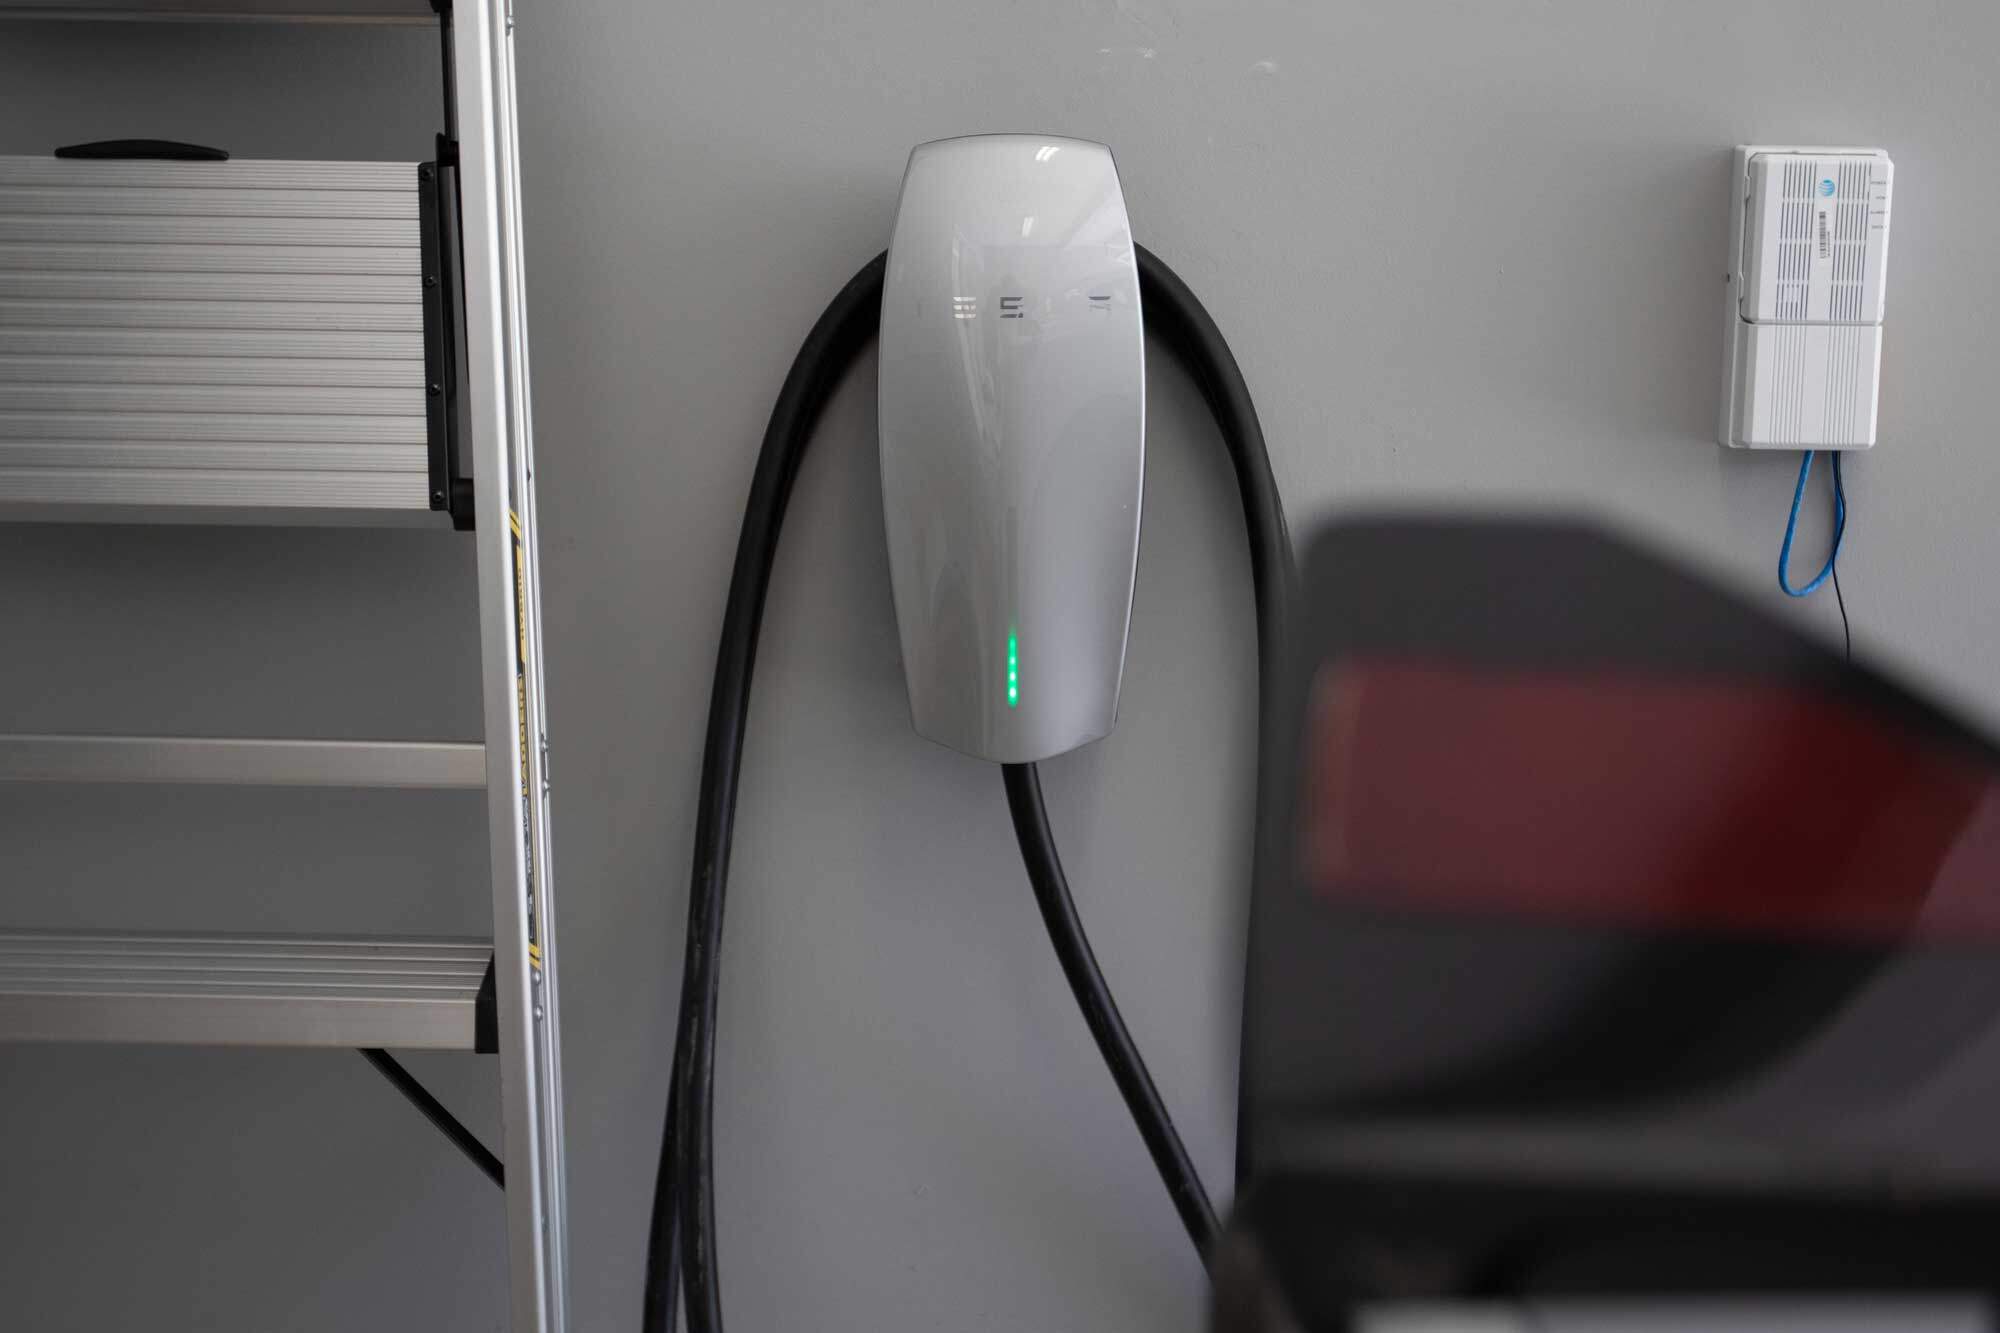
- Turn on the breaker box and if you are getting a green light, you have successfully installed your charger! If you get errors, go to page 24 in the Tesla Charger Manual.
*I did not install it myself and hired an electrician. I am not advising anyone to do it by themselves if they are not comfortable. This post is merely to help other owners understand how it is installed.


