With Tesla’s updates, you will now get an alert when your 12V is about to go out. To avoid being stranded, you want to change that battery as soon as you can. Here’s how.
If your Tesla is completely dead and has no power source, the car will become disabled (meaning locks and power windows won’t work). This issue requires a 12V jump start to power on again. Make sure you keep a door or window open to keep from locking yourself out!
Make sure you jump from an external battery charger and NOT another Tesla as it can cause damage.
If for some reason the frunk is already open, skip to step 8. If not, this is how to manually open your frunk so you can get to the 12V:
- Grab an external 12V jump starter.
- Pop out the tow eye cover (the large circle on the front bumper driver side) by pressing on the top right of the cover until it pushes inward, then pulling the cover toward you. This is where the tow hook is.
- Depending on your model, you’ll see two wires attached to that cover or they will just be in the hole and you’ll need to pull them gently out.
- Connect the 12V jump starter’s red positive cable to the car’s red positive cable. Then, connect the 12V jump starter’s black negative cable to the car’s black negative cable.
- Apply power with your external jump starter to pop the frunk open.
- Once open, disconnect cables – Black first, then red.
- Connect wires back to tow cover and put the tow cover back by inserting the wires into the opening, align the cover into position with the bottom left corner in first, and push it into place.
- Take off the large black plastic panel covering the 12V battery. This is located above the frunk compartment. You can just pull up as about 12 clips pop out of place. No tools required.
- Under that you’ll see the black cabin intake panel (on the passenger side of the car) that you’ll also remove by pulling upwards on the clips.
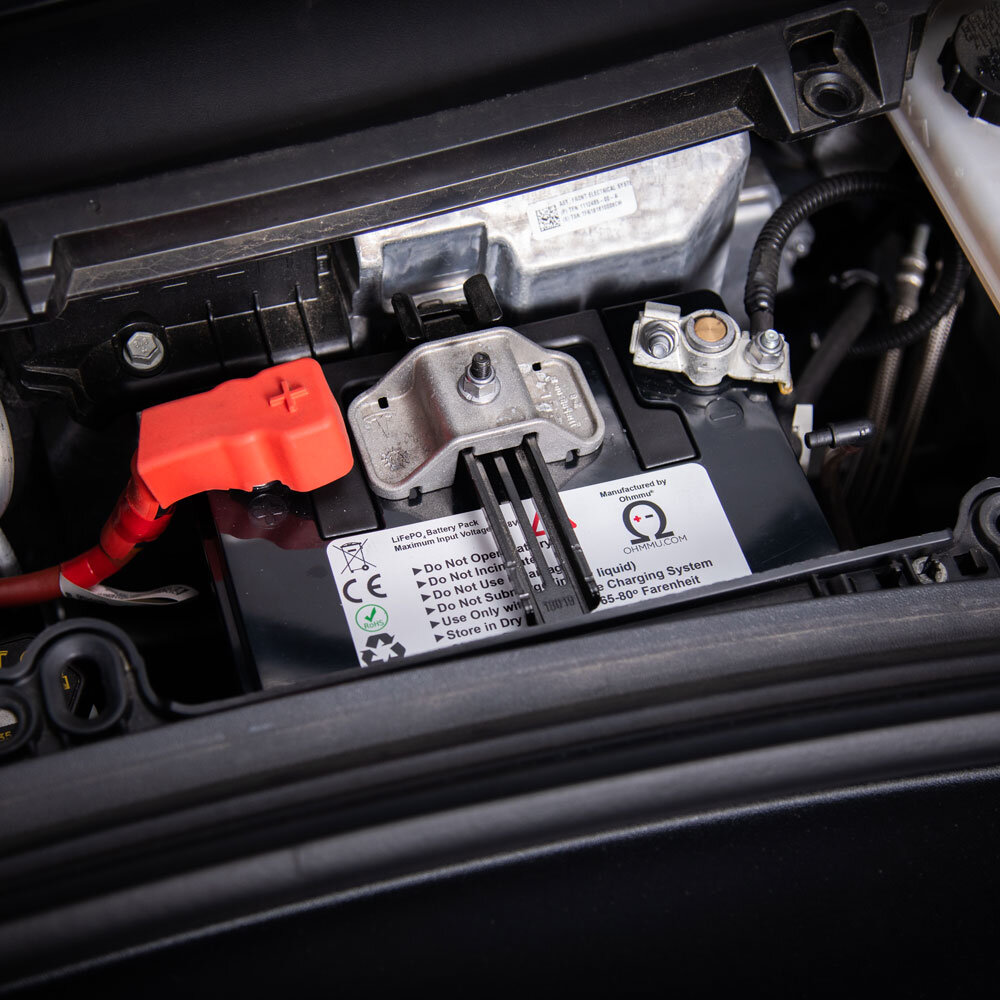
- Carefully connect the red positive (+) cable to the red positive (+) terminal on the 12V battery.
- Then, connect the black negative (-) cable to the black negative (-) terminal.
- Turn on external supply.
- Wait about 10 minutes, and then the car should be able to power up its computers. You’ll see the touchscreen turn on. Give it some time to charge.
- Disconnect the cables – Black first, then red.
- Replace both black panels you removed previously by popping them back into place. Make sure they are aligned before pushing in as they can break easily.
- Drive to a charger and charge up. Once the main battery pack has reached a sufficient charge, it will start charging the 12V battery.
NOTE: Unlike an ICE car that you drive around to recharge the battery, an EV does NOT work the same way.


