If you’re trying to decide if you want to wrap your Tesla yourself or bring it to a shop – or even if you want to wrap it at all – this is for you. In this series, we’ll walk you through wrapping each panel of a 2021 Model Y in Avery Satin Khaki Green and show you tips and tricks along the way. This series isn’t an instructional, but we hope you learn a few more things about wrapping that you didn’t know before you watched. So, check out this behind-the-scenes video series as Ji teaches Rob how to wrap his first Tesla Model Y.
In part 1, we go over how to prep the car with the proper washing techniques and materials, then how we cut the vinyl to fit each panel, and lastly, what parts of the Model Y we disassemble for the project.
Key Learnings:
- What you need to wash your car
- Not all water is equal (distilled vs not)
- Organizing before starting is key to efficiency
- You have to take you car apart quite a bit so you can tuck the vinyl in properly
In part 2, we wrap the front and rear door, as well as the fender.
Key Learnings:
- How to avoid adhesive lines and bumps
- How to wrap around Tesla Model 3/Y door handles
- How to wrap the AP part of the fender
In part 3, Ji and Rob tackle the rear quarter panel and rear bumper.
Key Learnings:
- How to wrap around charge port
- Why an inlay on top of the rear bumper is important
- How to wrap around the curve of the rear bumper using heat and the right stretch
Part 4 is dedicated to the front bumper wrap.
Key Learnings:
- What’s an inlay?
- How to properly lay the film on the bumper so it hugs the curves
- How knifeless tape can be helpful
- How much vinyl do you need to tuck in? How much is too much?
In part 5, Ji and Rob install the hood and pillar. A couple of tricky things that they work around is that this hood has a power frunk installed, and it’s about 85°F in the shop that day.
Key Learnings:
- How to wrap around sharp corners/edges
- How to get complete coverage of pillar, even in tight spaces
- How tweezers and backing paper can be useful when tucking
- What temperature should you wrap in?
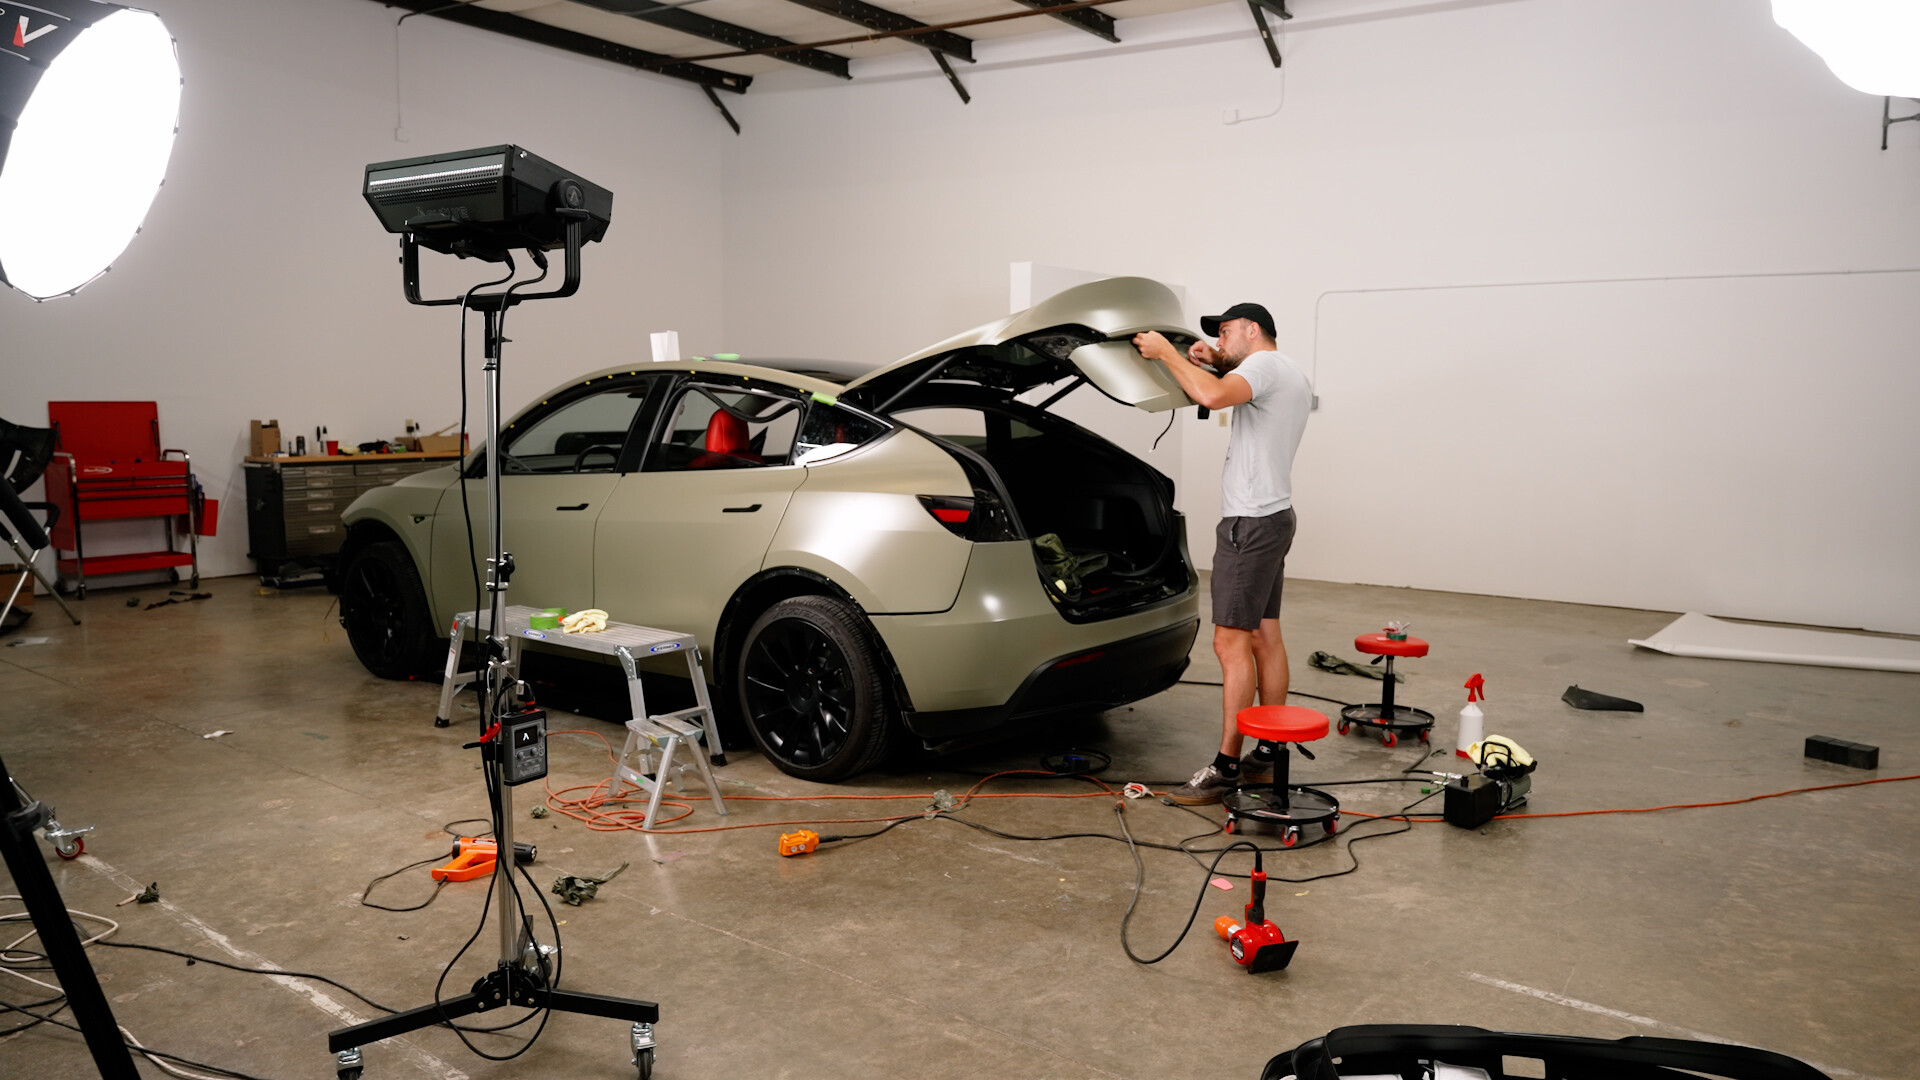
Last but not least, part 6 wraps up the entire project. Ji and Rob wrap the trunk hatch in one piece, install special accents to make it look more like the car’s name (Loki), and finally, the Model Y is revealed to the owner.
Key Learnings:
- How much to stretch when wrapping the trunk hatch body line – it’s a lot!
- How to wrap the AP turn signal
- Why we had to redo the trunk hatch – Learn from our mistakes!
We hope this series helps give you some ideas of what it’s like behind the scenes in a wrap shop, as well as help you understand vinyl wrapping more with some expert tips from Ji. If you are interested in getting your car wrapped by TESBROS, get a free quote here.
At TESBROS, we also make DIY pre-cut vinyl wrap kits in house, along with PPF (protection) kits. All of our products come with step-by-step video instructions. So, if you don’t want a full wrap, but still want to customize your Tesla with some personalized details, check out these wraps below.


