Whether you’re taking it off to install a hitch or to wrap the vinyl over the edges, there may be a time where you need to remove the bumpers. Okay, maybe not often, but it could happen. Removing any bumper could be a daunting task if you’re inexperienced. So we created this guide on how to remove the Model 3 rear bumper safely and efficiently.
Tools You Need
- 8mm socket
- 10mm socket
- 8mm stubby wrench
- Ratchet
- T25 Torx Screw
- Pry tools (or flathead screw driver)
- Gloves
- Painters or Frog tape
Preparation
Jacking up your Tesla (like we did in the video) will help a lot, because you will have to remove several bolts underneath the vehicle. However, it is possible to do this without a jack. Make sure you use jack pads to raise it though! You could seriously damage your undercarriage if not.
Tape your rear quarter panel. We typically put two layers just to ensure we don’t damage anything while removing the bumper.
Tail Light Removal
- Remove the bolt on top of the tail lights. Simply unscrew it.
- Dislodge the weather seal on the bottom and sides.
- Remove the trunk plastic piece. There are four clips.
- In the trunk, pull back the liner behind the tail light area and unclip the tail light connector. You need to push the red clip up, then wiggle it gently to remove the connection.
- Use a stubby wrench to unbolt the two 8mm bolts.
- Pull the tail lights out. Try to pull straight out, so you avoid breaking the side rails off of the tail lights.
Clips and Bolts Removal
- Remove the 3 clips on each side of the wheel well. Use a prying tool or trim removal tool to push the pin up, then pull it out. Do it on both sides.
- Remove the T25 Torx Screw on the side of the wheel well (both sides). This screw might fall into the bumper area when you remove it. Simply grab it after taking the bumper off.
- On the edge of the bumper, remove the two clips covering bolts with a pry tool.
- Remove all 7 10mm bolts underneath the undercarriage. Refer to the video to find out which ones you need to remove.
- Remove the 2 10mm bolts that cover the motor. This is optional but will help later when you’re putting the bumper back into place.
- Remove the two 10mm bolts on the top part of the bumper where the tail lights used to be.
Bumper Removal
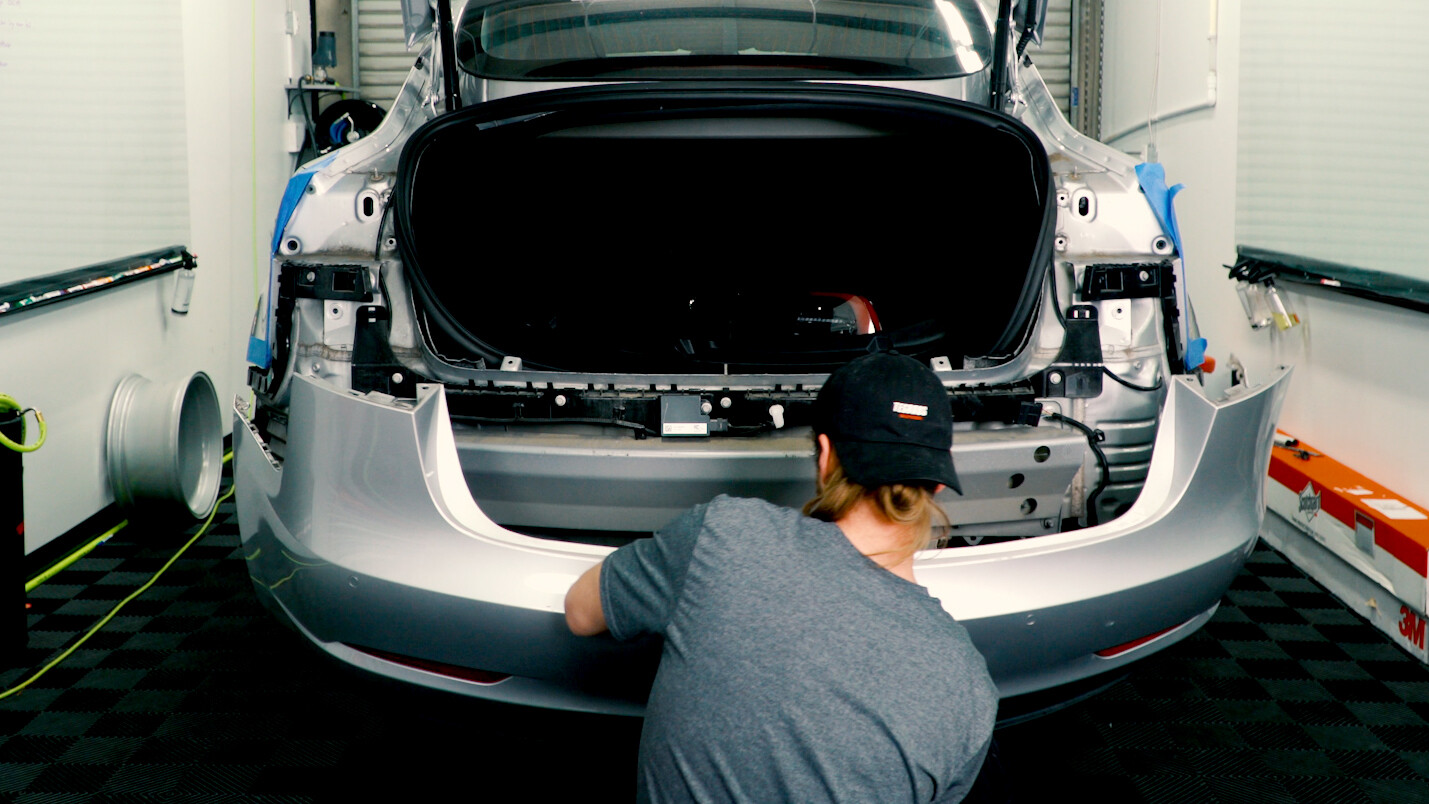
- Starting from the sides, pull the bumper until you dislodge the clips that are holding the bumper in place. It’s best to alternate between sides.
- Once you get to the center, pull carefully while supporting the bumper with your knee or a short stool underneath so it doesn’t fall.
- Once it is removed, make sure to disconnect to sensor cables. Simply slide the red tab out and push the black pin to disconnect it. This is located on the right side.
- And that’s it. You’ve successfully removed your rear bumper!
Tips & Tricks when Reinstalling the Rear Bumper
- Reinstall in reverse order that you removed it in.
- Start from the middle when you realign. This will ensure everything falls into place.
If you are interested in removing a Model Y rear bumper, click here.


