As intimidating as it seems, removing your Model Y taillights can definitely be a DIY job! Follow along in the video above and/or read the steps below, and you’ll be able to do it easily. The hardest part for us was removing the electrical clip behind the taillight so be patient as you work that out of there.
What you need
- Pry Tools
- Socket Wrench
- 8mm Socket
- Short Socket Wrench Extension
- 8mm stubby Wrench
- Gloves (optional)
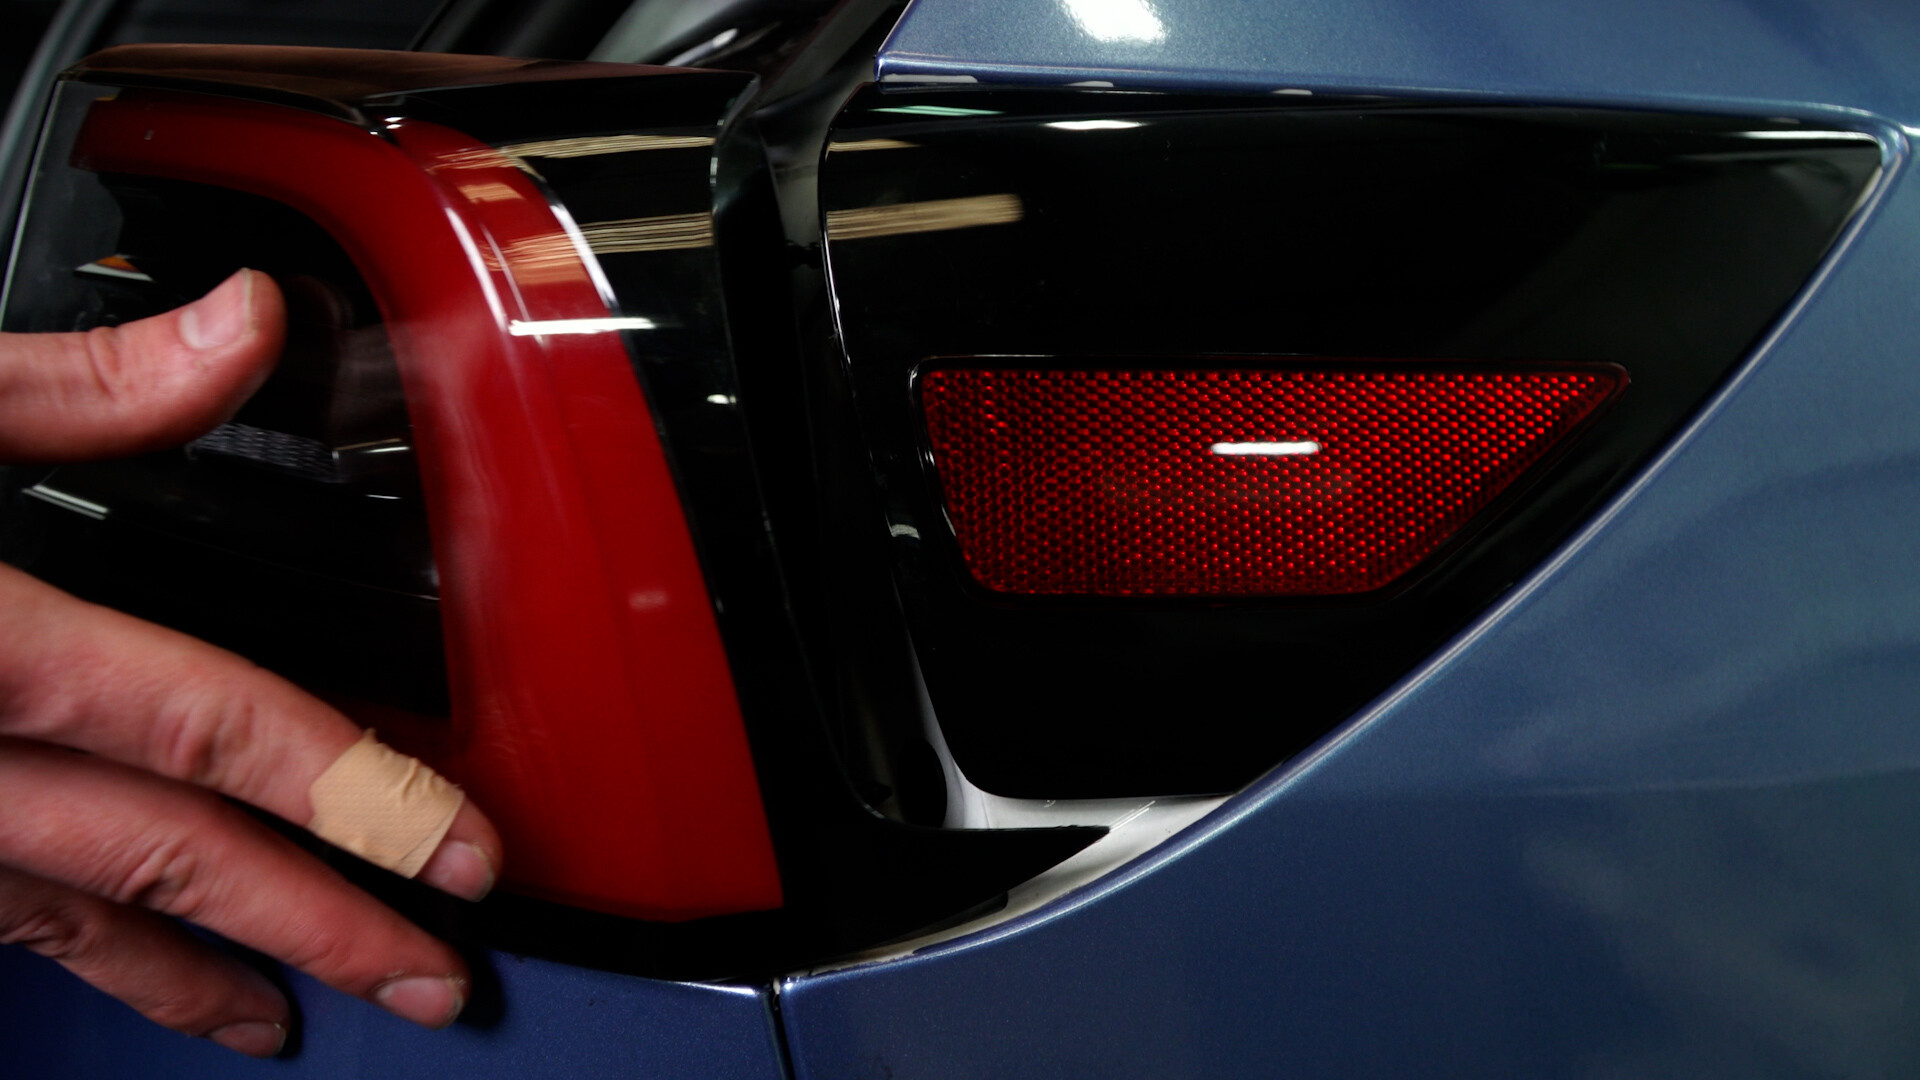
Trunk Taillights
Removal
- Unscrew the two rubber bumper stops. Make a note or take a picture before you remove them to remember how far in they were. This will need to be the same for reinstallation.
- Unclip the latch cover.
- Unclip the long trim piece along the rear. Start at the sides covering the main panel.
- Once uncovered, remove the two plastic push clips on the main panel.
- Pull downwards to start removing the plastic trim clips along the edges.
- Once edges have been loosened, remove white electrical clip on the passenger side. Push the tab down and pull out.
- Continue to pop out the rest of the trim clips around the center of the panel. This will allow the panel to be fully removed.
- Disconnect the electrical connection to the light. Pull the red tab and it will pop free.
- Using your socket wrench with extension, use the 8mm socket to loosen one 8mm nut connected to the light.
- Slide pry tools underneath the light to help the light break free from the plastic clips. Pull straight out to remove the light.
Reinstallation
- Reinstall lights into position.
- Install the 8mm nut and electrical connection.
- If any blue clips did not break free with the panels and are still attached to the body of the trunk, use a pry tool to undo, and reinstall on the trunk panels.
- Clip the white electrical connection back into place.
- Align the center hole and snap the clip back in to hold the panel in place. Then, work around the areas pushing all the clips in until you hear them snap into position.
- Reinstall the two side plastic push clips.
- Align the center hole on the long trim piece and snap into place and then continue working down the sides.
- Push the latch cover back into place.
- Reinstall the two rubber bumper stops, making sure to push them back to the same level they were before. (something about the notch alignment?)
- Close and open your trunk to make sure everything is working properly.
Bumper Taillights
Removal
- Using a pry tool, remove the rubber bump stops on top of the lights.
- Pull up the weather stripping around the taillights.
- Pop the side trim panels out to give access behind the light. There is only one white clip to pop out.
- Undo the electrical connection to the light by pulling the red safety tab backwards and pull connection out. If stuck, you can use a pry tool to gently push it out.
- Using a stubby 8mm wrench, undo two 8mm nuts behind the light.
- Pull the light straight out toward you.
Reinstallation
- Push lights back into place, aligning the two black clips on the right side.
- Screw the two 8mm nuts back down.
- Reinstall electrical connection and push the red safety tab back in.
- Pop side trim panels back into place, aligning the one white clip on top.
- Push the weather stripping back down into the channel, use a pry tool to get it over the trim.
- Push rubber bump stops back into place.


